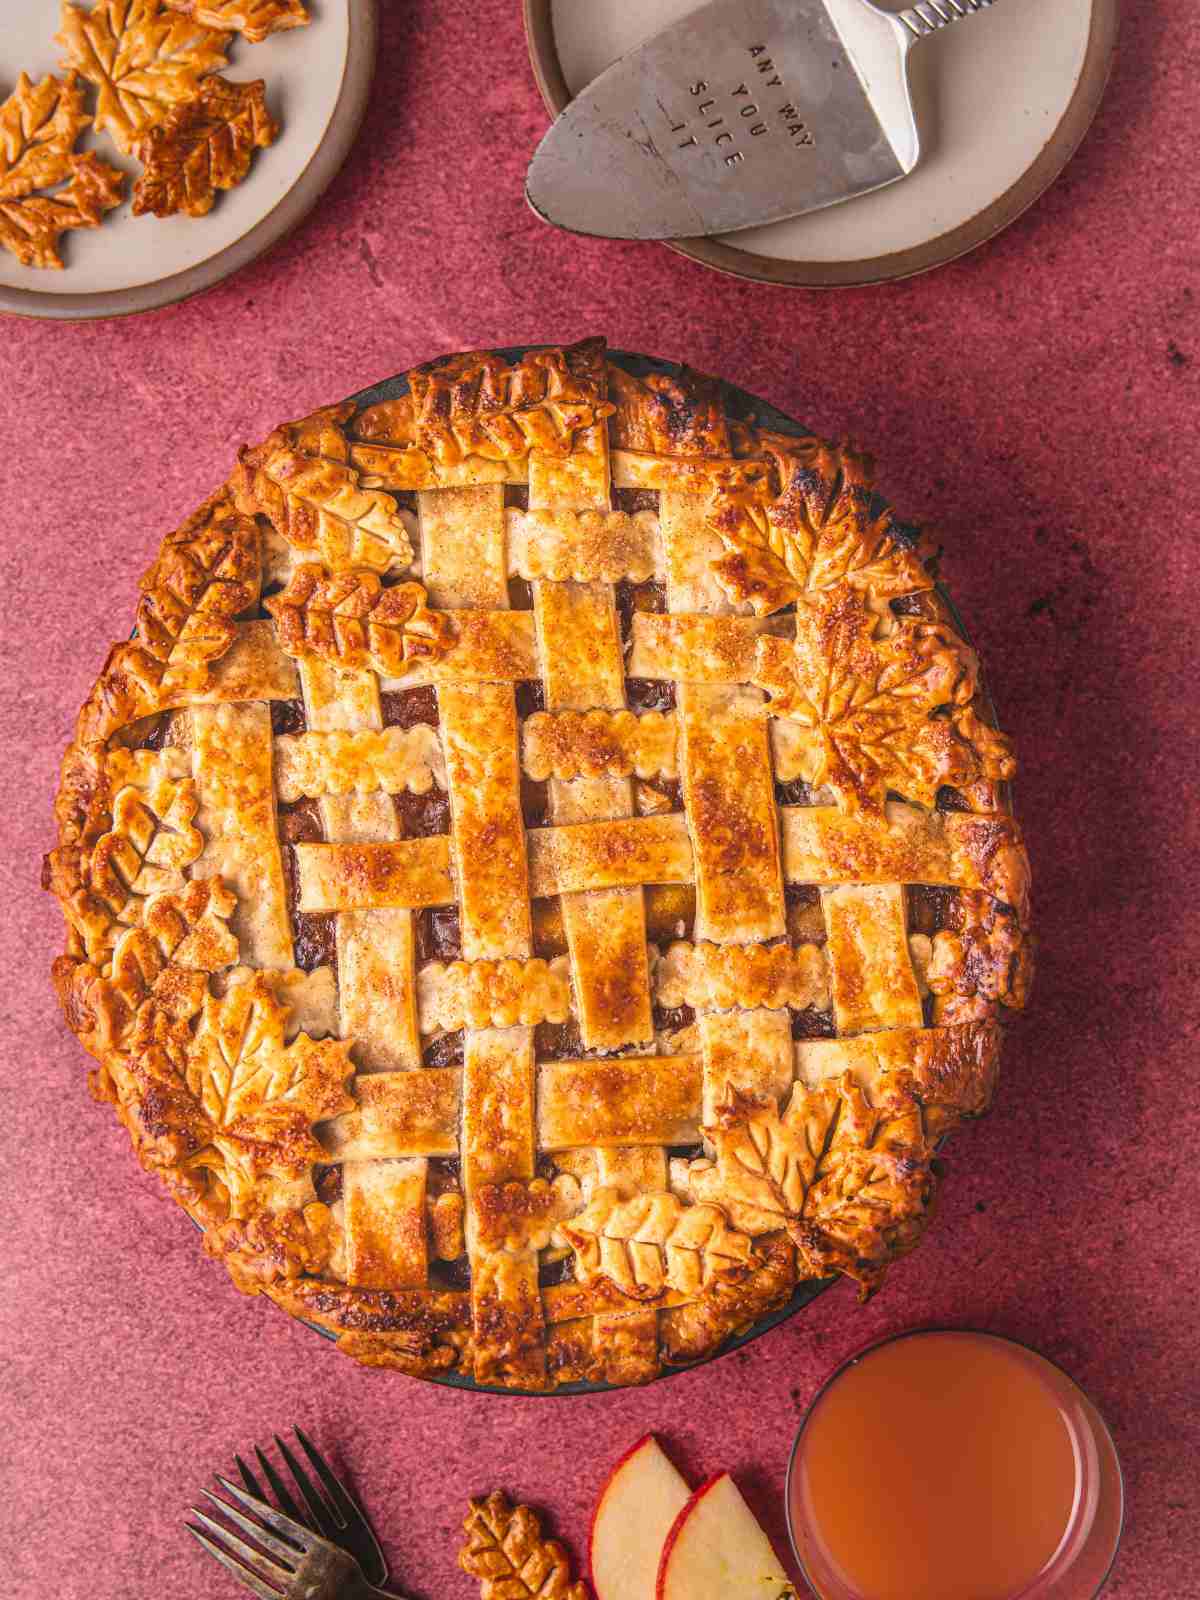
Apple Pie With Canned Apple Pie Filling
This recipe for apple pie with canned apple pie filling is the ultimate shortcut for a quick, cozy, and effortless dessert. With just a few simple tweaks, such as adding cinnamon, lemon juice, or a fresh apple slice, no one will ever know how easy it was to prepare.
Trust me, once you try it, you'll wonder why you ever made apple pie the hard way. If you love puff pastry desserts, don't miss my mini savory version chicken pot pies made with a flaky crust and creamy filling.
You want apple pie (who doesn't?), but peeling and slicing all those apples is daunting. Luckily, that dusty can of apple pie filling in your pantry is about to save the day and make dessert a breeze.
Jump to:
Why This Apple Pie With Canned Filling Recipe Works
- Easy: it saves time, requires no peeling or coring, and is perfect for beginners.
- Make it your own: Most canned apple pie fillings are often overly sweet or not as tart as one would make at home. This recipe uses lemon juice to fix that gap, as well as cornstarch to make the filling less runny, b'cos let's face it, no one loves a soggy pie.
- Taste great: take the taste up a notch from blah to whoa! Yes, spices add more depth as the canned filling lacks flavor.
- Par-bake: Par-baking the crust helps keep the bottom firm. This gives the pie structure for the perfect slice.
- Great for busy holidays, last-minute desserts, or when you want comfort pie without the work.
📃Ingredient Description
Here are the ingredients you'll need to make this easy apple dessert with pie crust:

- Canned Apples: Look for one where apples are listed before sugar or corn syrup. I prefer the Kroger and True Leaf Brand.
- Pie Crust: You can either use a store-bought (rolled or frozen) or my buttery homemade pie crust recipe if you are feeling fancy.
- Lemon juice: lemon juice adds a tart undertone to brighten up the rest of the ingredients, whilst balancing out the sugar.
- Spices: Apple pie is incomplete without warm spices. My go-to is cinnamon, allspice, and ginger. These spices add an aromatic flavor to the canned apple pie recipe.
- Cornstarch: used to thicken the apples even more, as the canned apples tend to have a slightly runny consistency.
- Brown sugar: This is entirely optional. Depending on the brand of apples you buy, you might find them too sweet or not as sweet.
- Egg wash and cinnamon sprinkle: these both add that golden bakery glow to the pie.
- Extra: add one fresh apple (thinly sliced) to give it that "from scratch" bite.
How To Make Canned Apple Pie Filling Taste Better
- Add more spices: think cinnamon, cardamom, allspice,
- Use cornstarch or all-purpose flour to thicken the canned apples
- Add more lemon juice to brighten the flavors.
- Add more brown sugar if you like it sweeter or for a more caramelized filling.
📝Step-by-Step Instructions
Detailed instructions are outlined in the recipe card below, but here are a few steps with visuals to guide you:

Step 1: Roll out pie crust dough (if using 2 sheets). Line the 9-inch pan with the bottom crust. Press on all sides.
Step 2: Use a fork to prick the crust slightly. Transfer into the freezer.
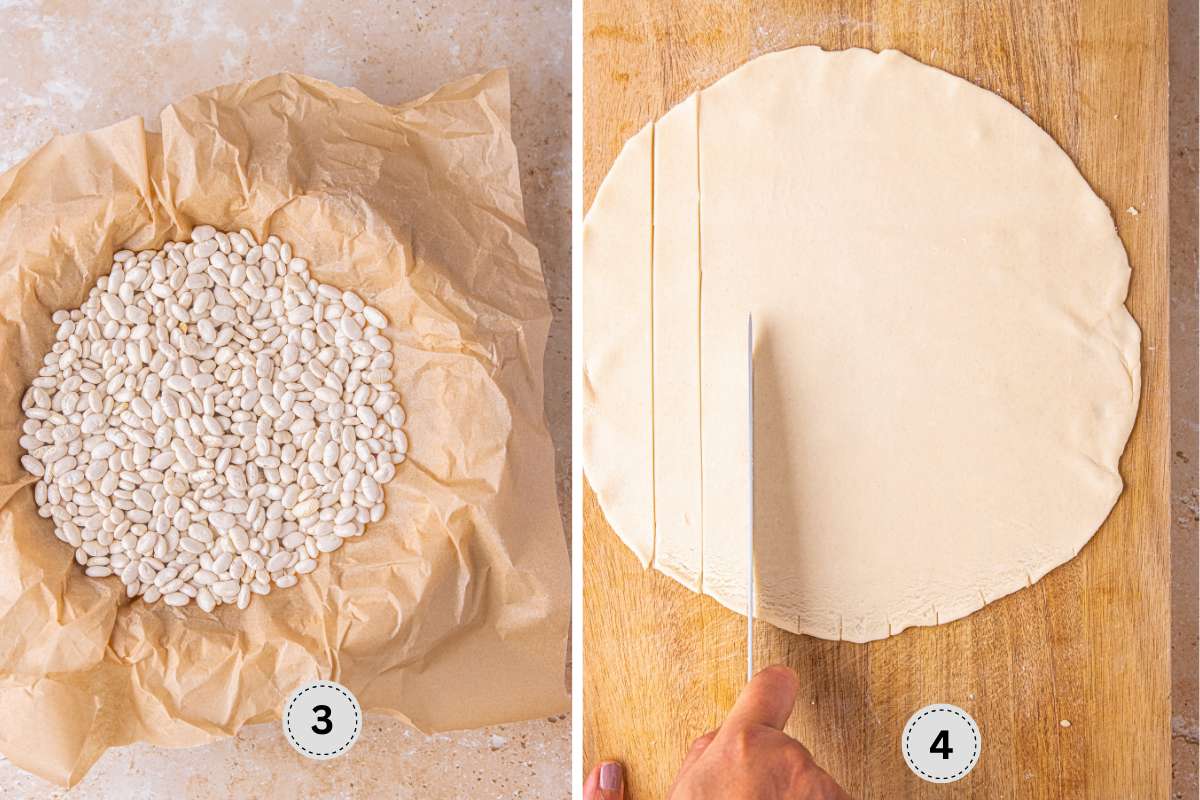
Step 3: Once frozen, place a pie shell or dry beans on a parchment paper, then over the frozen crust.
par-bake, then seal the crust with egg wash by brushing all over the bottom and sides. Set aside.
Step 4: While the shell cools, prep the lattice strips (if using a whole top, skip this step). Cut the second crust into 1-inch-wide strips.
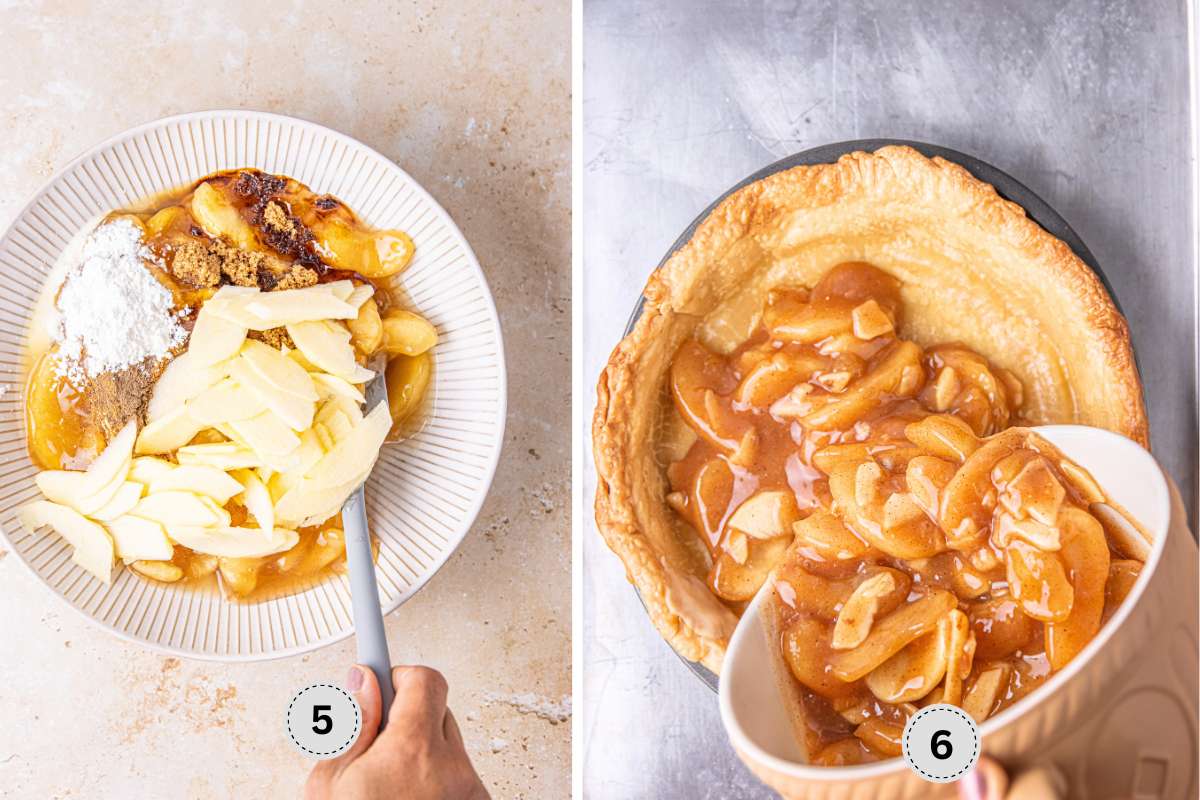
Step 5: Combine the apples, spices, lemon juice, cornstarch, and sliced apples (if using) in a medium bowl.
Step 6: Transfer to a cooled crust, spread evenly, and top with butter.
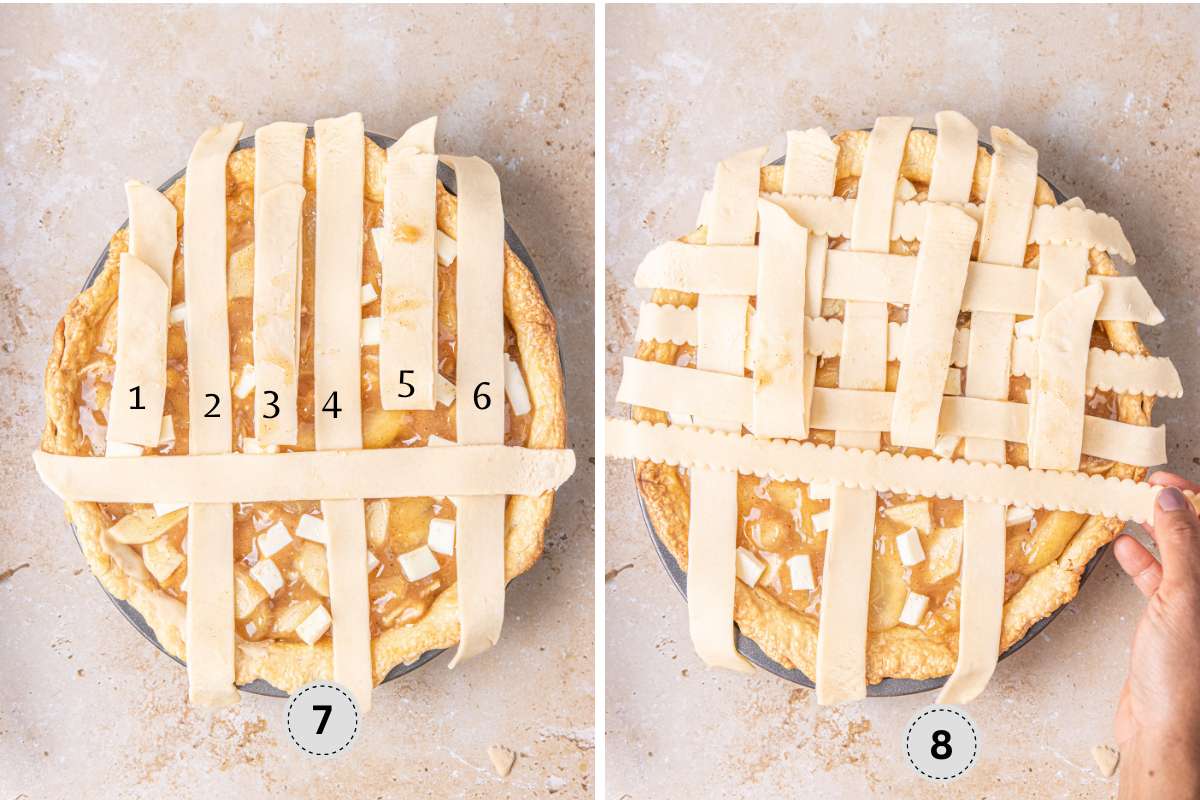
Step 7: Place 6 cut strips (longer) vertically, then lift every other strip (1, 3, 5), and place the smaller strips across.
Step 8:Do the same using the other strips (2, 4, 6), putting the shorter strips across until there are no strips left.
Trim the edges, then seal the ends by folding in or crimping with the back tip of a fork.
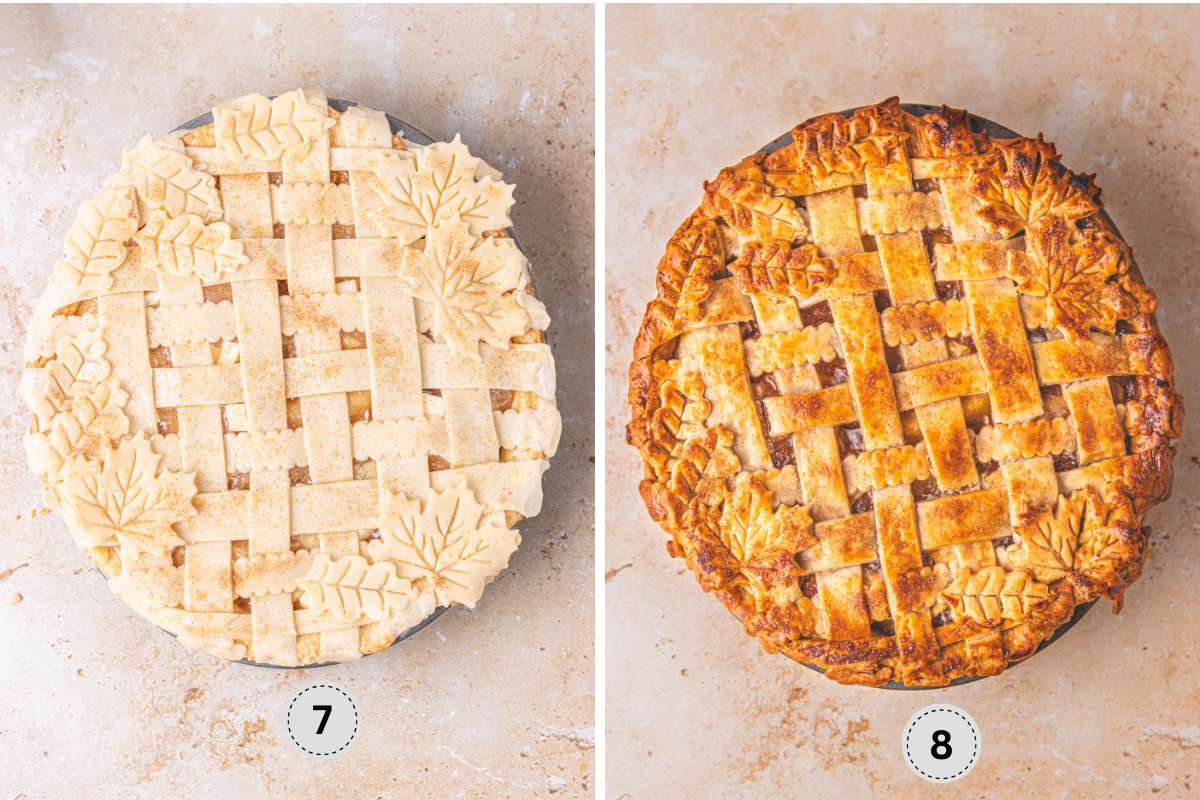
Step 9: Brush the top with egg wash, then sprinkle cinnamon sugar (granulated sugar with cinnamon) all over.
Step 10: Bake until the top is golden. If the edges begin to burn, cover the edges with aluminum foil. Once baked, remove from the oven and cool slightly before cutting it.
Top Tip
If you're going to make this recipe, make sure to follow this top tip!
- I recommend using two 9-inch pie crusts for store-bought options. The Pillsbury pie crust is buttery and flakes easily because the rounds are relatively thin. By doubling the crust and rolling it out slightly, you can achieve a firmer bottom that won't get soggy. This technique also creates a nice overhang, so if the crust shrinks during baking, you won't lose the edges.
- Freezing and par-baking the crust helps to keep the base sturdy.
- Brushing egg wash all over the par-baked crust seals the pie so nothing leaks through the cracks, if any.
- Adding cornstarch to the mixture helps thicken the filling, so don't skip that part unless you want an unappetizing, soggy pie situation.
- Be sure to sift the cornstarch before combining the filling, as there might be lumps that'd need mixing.
- The pie top can either be made whole or cut into a lattice design. Need more ideas for the crust? Try my homemade pie crust recipe. Cut 1 sheet of pie crust into 6 rounds, about an inch. Use the longer strips for the middle portion and the shorter ones to go across.
- Roll out any leftover dough that's been cut from the edges to make little maple leaves or other shapes to adorn the pie.

✅Recipe FAQS
Is your filling runny? Stir in 1 tablespoon of cornstarch before baking to thicken the filling.
Are the pie edges burning? Use a pie shield or aluminium folded into a strip to cover the edges halfway through baking.
Is your pie overly sweet? Add a splash of lemon juice or mix in one tart apple slice to cut down the sugar and balance out the taste.
Blind bake or brush the crust with egg wash before adding filling. Par-baking helps keep the bottom firm.
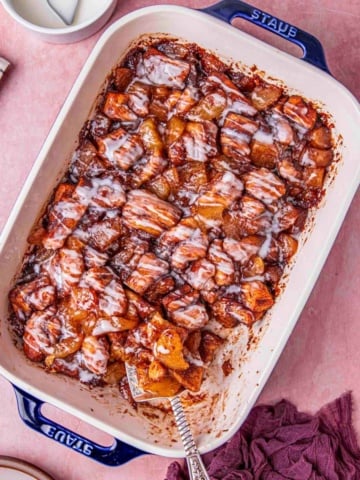
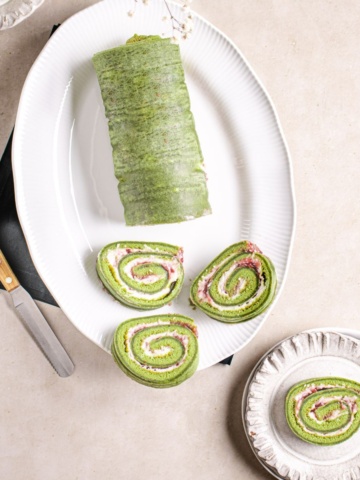
Here Are More Dessert Recipes To Try:


Have you given this recipe or any other from my website a try? Please consider leaving a ⭐ star rating and sharing your experience in the 📝 comments section. Your feedback means the world to me, and I'm excited to hear from you!
PEACE & LOVE
Maureen
📖 Recipe

Apple Pie With Canned Apple Pie Filling
Equipment
- 9 inch pie pan
- Medium bowl
- pastry cutter
Ingredients
- 2 store-bought pie crusts softened at room temperature (plus 1, see Note 1)
- egg wash 1 large egg beaten with 1 tablespoon water
- 2 20 .oz canned apple pie filling
- 1 tart apple peeled, sliced thinly, Optional
- 2 tablespoons packed brown sugar
- 3 teaspoons freshly squeezed lemon juice from 1 large lemon
- 2 tablespoons corn starch
- 1 teaspoon ground cinnamon
- ½ teaspoons each of ground ginger, allspice
- Pinch of salt
- ¼ cup butter cut into small cubes
- Cinnamon sugar to sprinkle (granulated sugar with cinnamon) optional
Instructions
- Heat oven to 400°F degrees F. Place the softened pie crust over a 9" pie pan. Prick the bottom and sides with a fork; be careful not to poke through.2 store-bought pie crusts
- Transfer the pan into the freezer for 15 minutes. Remove the pan from the freezer and place a pie weight over the frozen crust (you can use dry beans or rice). Bake for 15-18 minutes or until light brown, then remove the weight.
- Brush the bottoms and sides with egg wash, return them to the oven, and bake for 3 minutes.Remove from heat and set aside to cool slightly.egg wash
- Meanwhile, cut the second crust into 1-inch wide strips (I used two 9 inch rounds to achieve my look). Place on a sheet pan or ziplock bag and refrigerate while you make the filling.
- In a medium bowl, combine the apple pie filling, fresh apples (if using), brown sugar, lemon juice, cornstarch, cinnamon, ginger, allspice, and salt.2 20 .oz canned apple pie filling, 1 tart apple, 2 tablespoons packed brown sugar, 3 teaspoons freshly squeezed lemon juice, 2 tablespoons corn starch, 1 teaspoon ground cinnamon, ½ teaspoons each of ground ginger, allspice, Pinch of salt
- Spoon the filling into the prepared pie pan, and top with the cubed cold butter.¼ cup butter
- Arrange the strips in a lattice style over filling, making sure to use the longer strips for the center of the pie. Trim and seal the edges (use wet finger to press the edges to seal it or crimp the edges with a for or decorate with more cut-out fall foliage.
- Brush all over the top crust. (Optional) Sprinkle the top with cinnamon sugar. This yields a golden crinkled top.Cinnamon sugar to sprinkle
- Place the pie pan over a baking sheet to trap any juice. Bake for 40-45 minutes or until the top is golden brown and the juice begins to bubble.
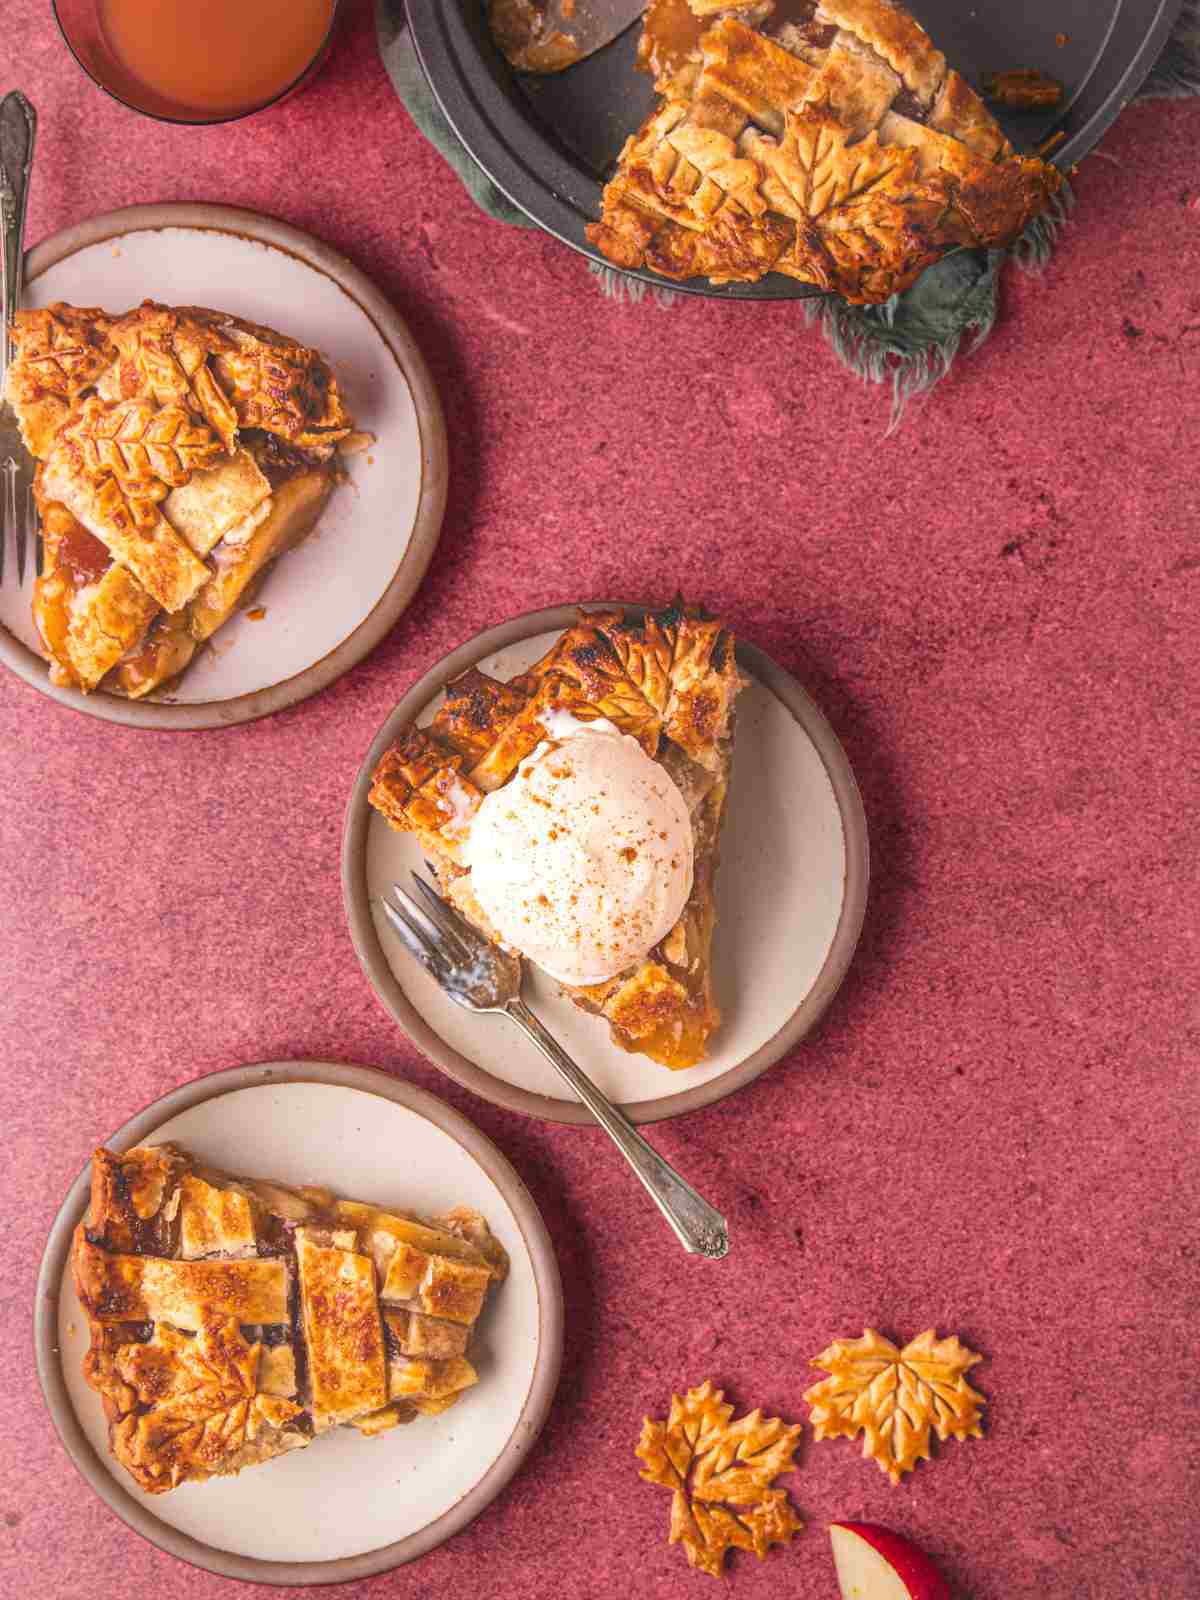
- Let it rest for 2 hours before slicing (yes, the wait is worth it, as this will help you get clean slices). Serve with vanilla ice cream. Store leftovers at room temperature for up to 3 days.Please refer to the body of the posts for more useful cooking tips, process shots, and serving options.
Notes
- Use two 9-inch pie crusts from the store to make the base. The Pillsbury pie crust is buttery and flakes easily because it is thin. To prevent a soggy bottom, double the crust and roll it out slightly. This method also adds a nice overhang, so if the crust shrinks during baking, you won't lose the edges.
- If you are going for a more elaborate lattice, use an extra sheet (plus the one mentioned on the recipe card).
- No time to make a lattice? Cover the top of the pie with a whole 9'' round, crimp or fold the edges. Vent with a few slits.
- Don't brush the edges with egg wash, as this might cause the dough to brown too soon. If the edges begin to brown while the top isn't, cover the edges with a pie shield or aluminum foil.


I saw this on IG story and had to make it. I used one can to make a mini batch for me and my daughter. It came out great. So goodT!